

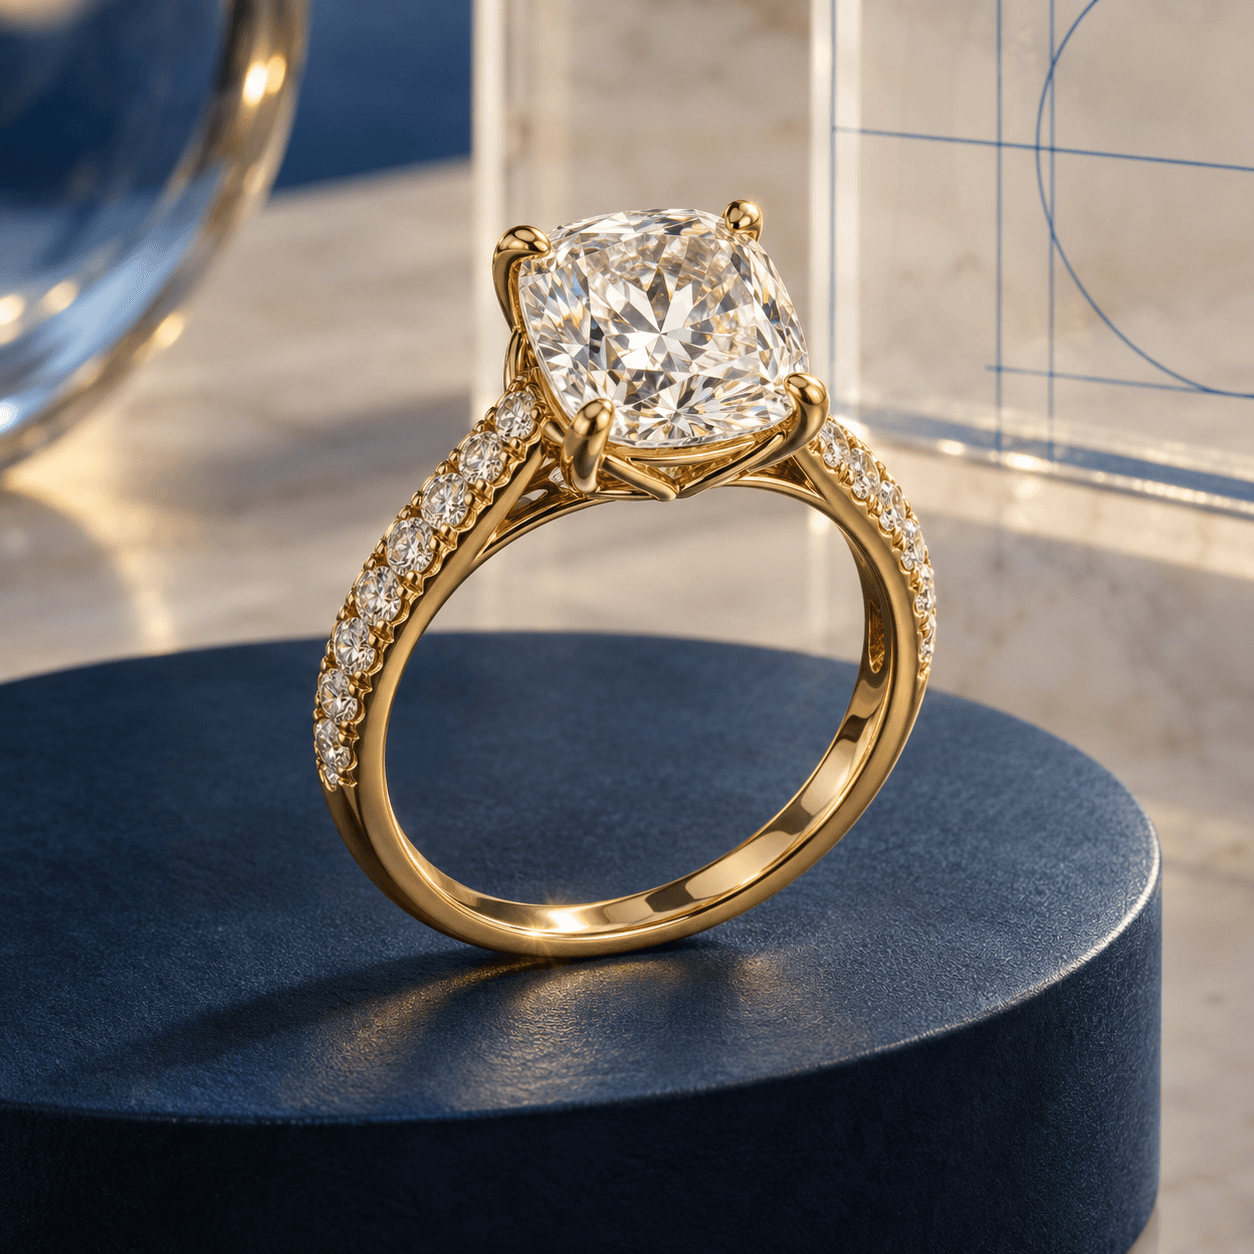
01 / START
Bring your reference
Upload a clear jewellery image or sketch and add any instructions. You can also start with a written idea for rings, pendants and bracelets.
Nsphere ONE
Bring customer ideas into view with Nsphere ONE. Turn a jewellery image, sketch or written idea into a preview you can refine and a 3D model you can inspect and develop.
NSPHERE / YOUR JEWELLERY DESIGN WORKSPACE
BUILT FOR CUSTOM JEWELLERY
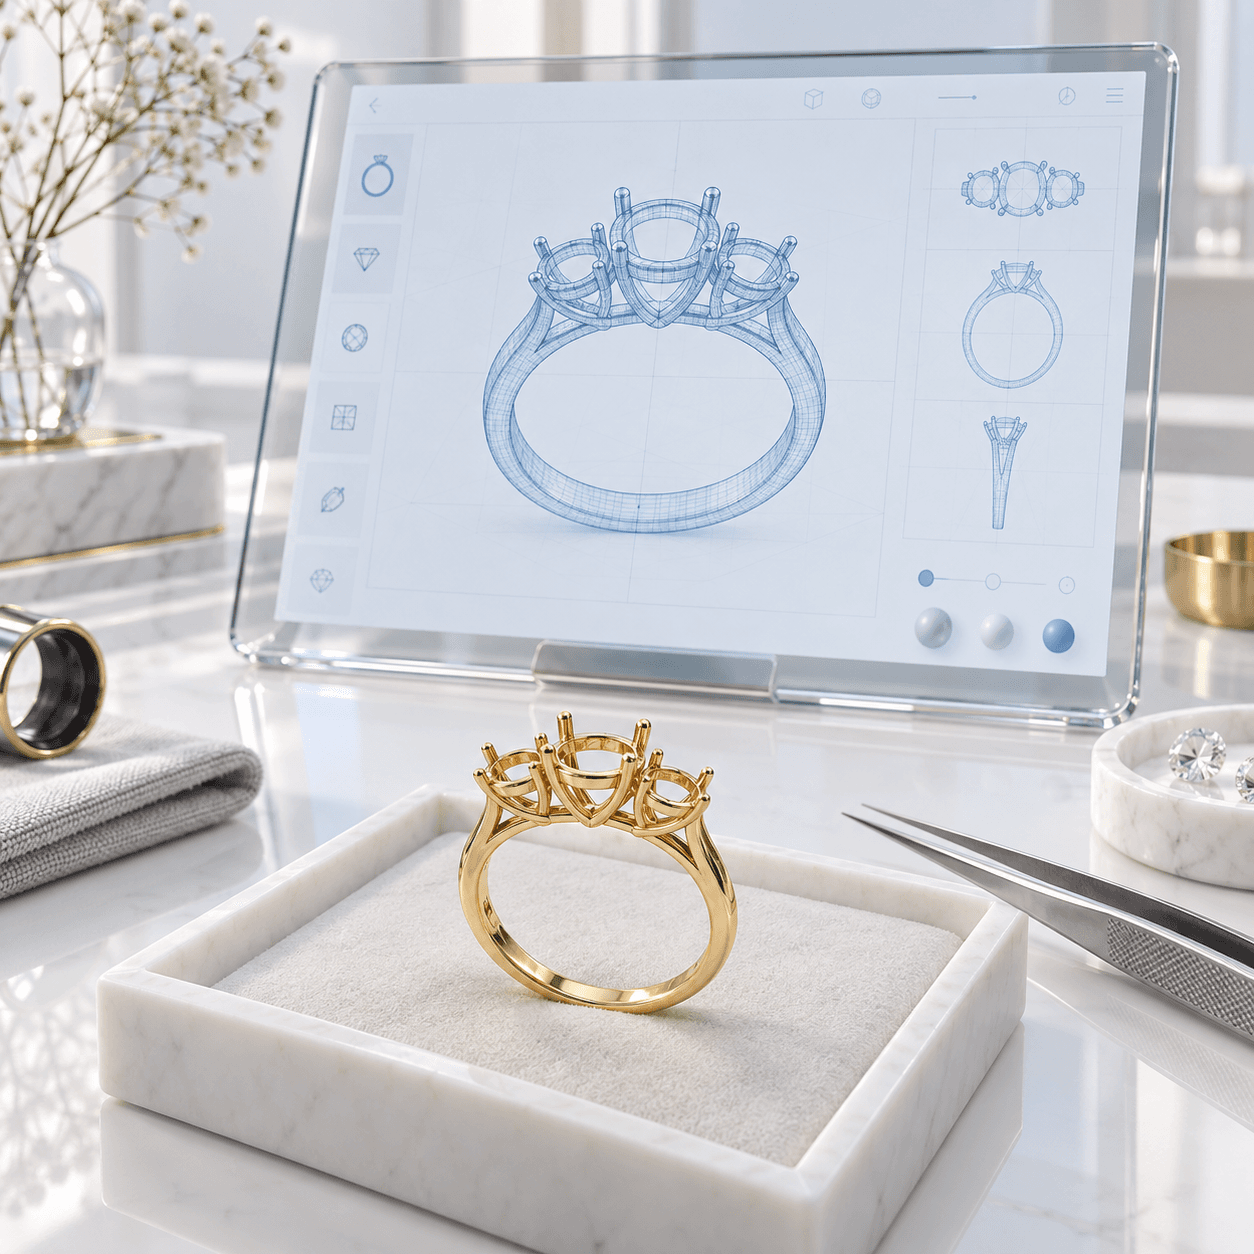
When a customer asks, “Can you make something like this?”, start with their reference. Use ONE to explore the design together, refine the direction and create a 3D starting point for the work ahead.
HOW ONE WORKS
Give your customer something concrete to discuss. Review the direction before creating the model.
01 / START
Upload a clear jewellery image or sketch and add any instructions. You can also start with a written idea for rings, pendants and bracelets.
02 / REVIEW
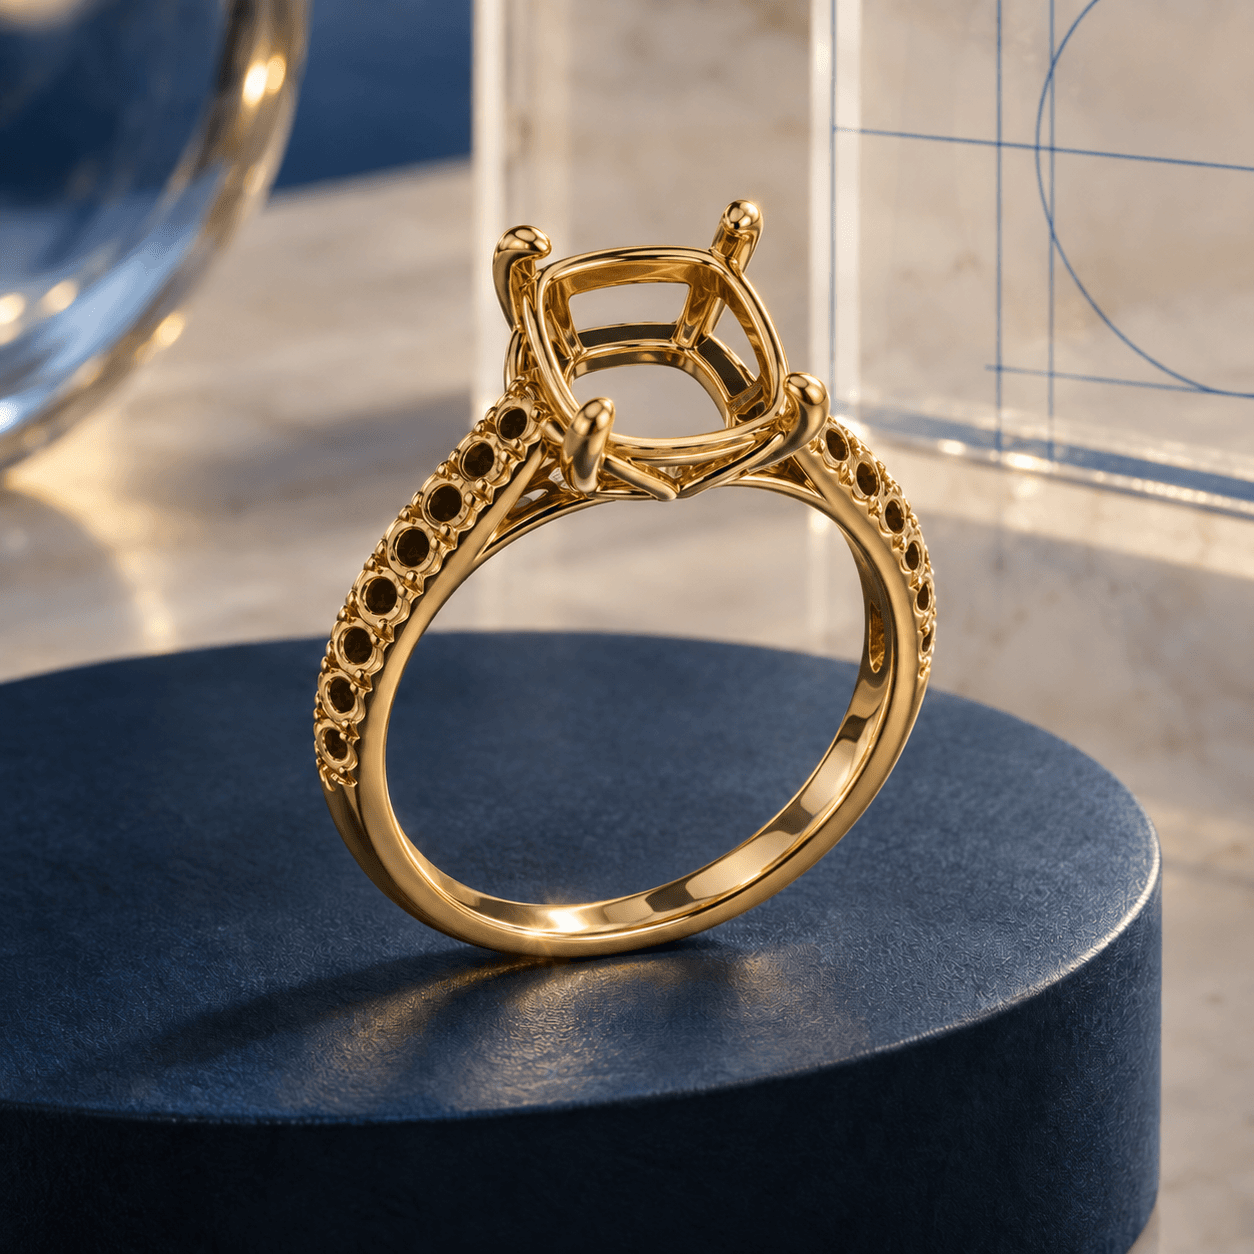
Review the prepared, stone-free preview. Describe any changes, generate a new version and approve the image you want to take into 3D.
03 / CREATE
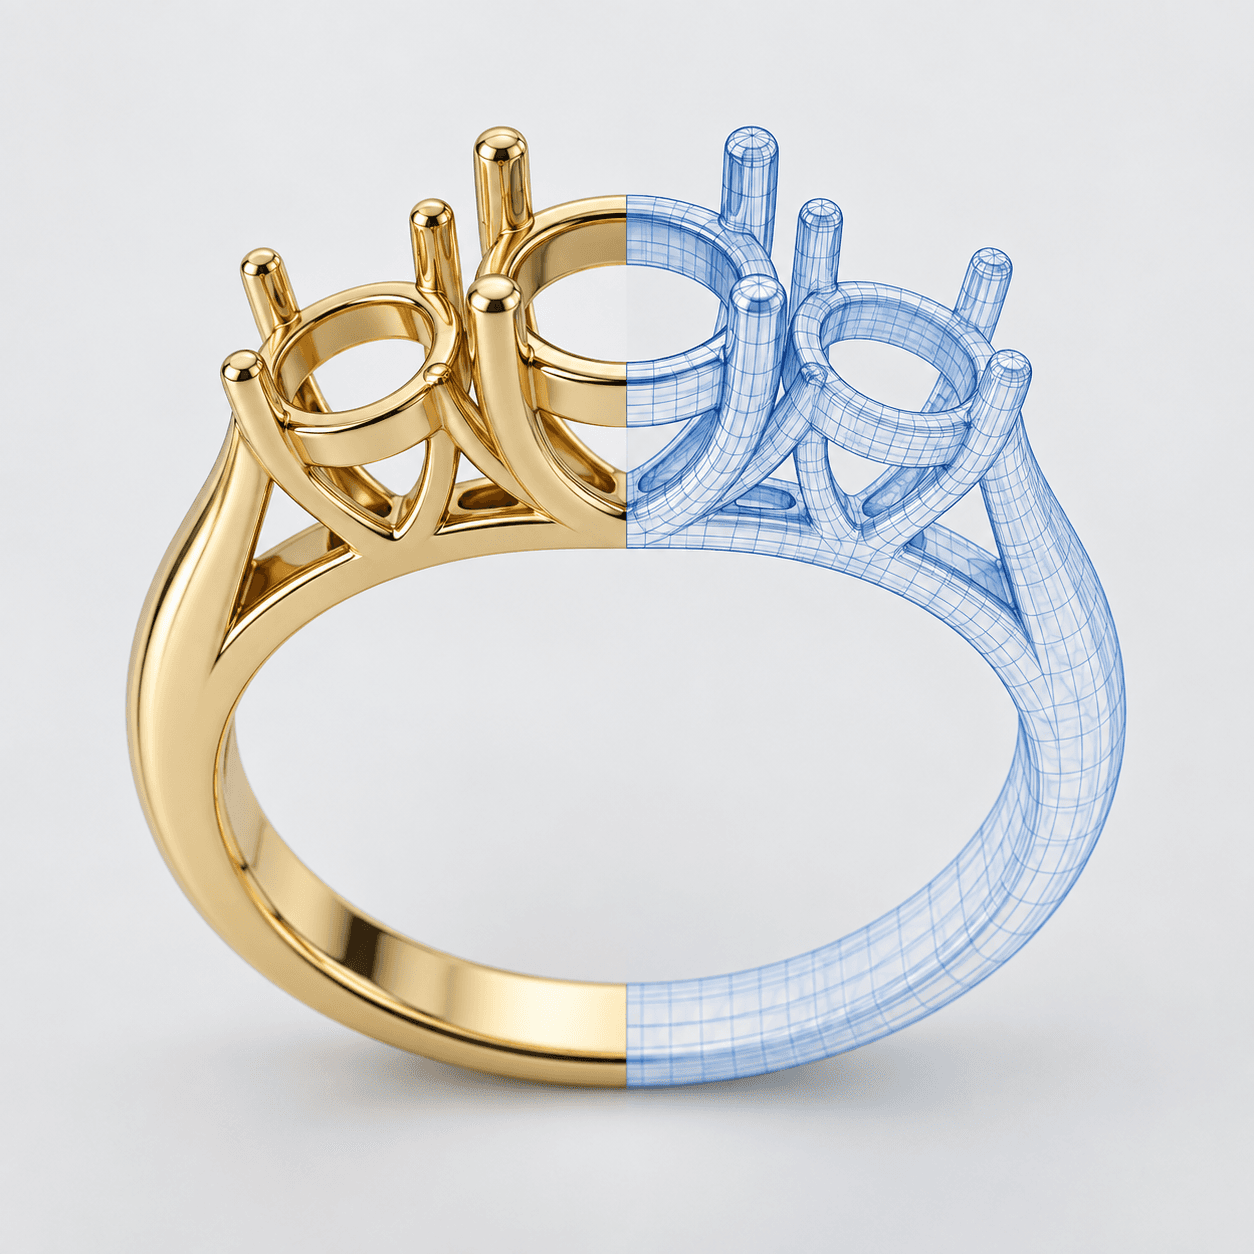
Create your model, then rotate and zoom to inspect it. Download your 3D model to continue your design work.
MADE FOR YOUR NEXT DESIGN
Choose the category that fits your next custom commission or original design.
Bring a bespoke ring idea into 3D and inspect its setting, band and open details.
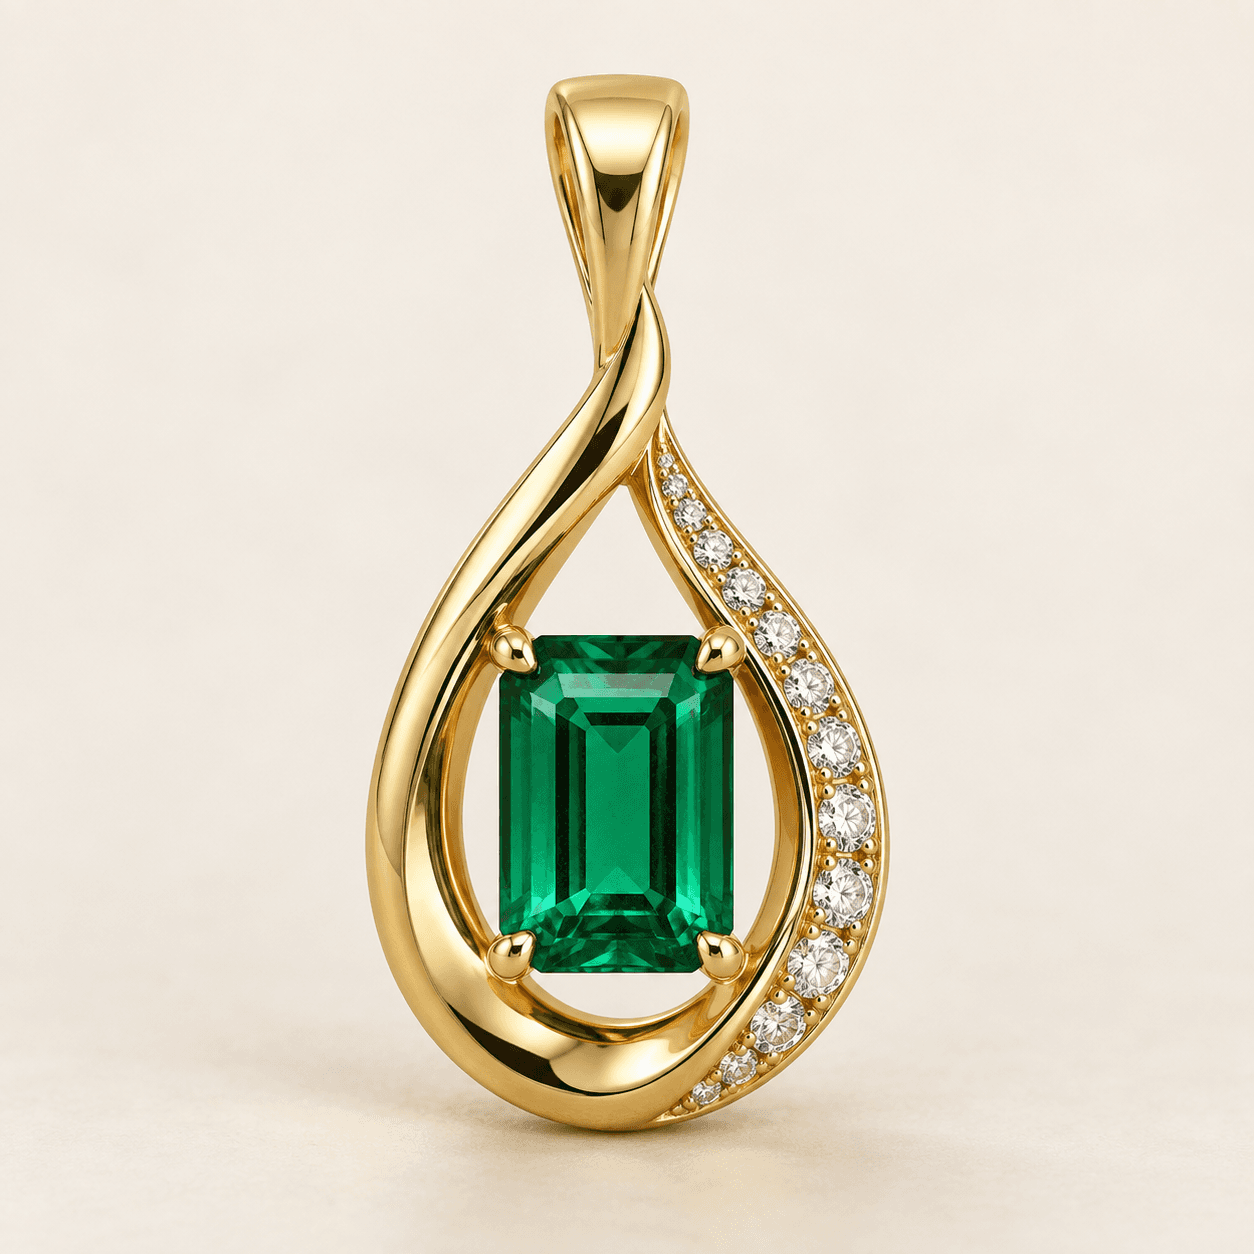
Develop the form of a pendant from your reference or written idea.
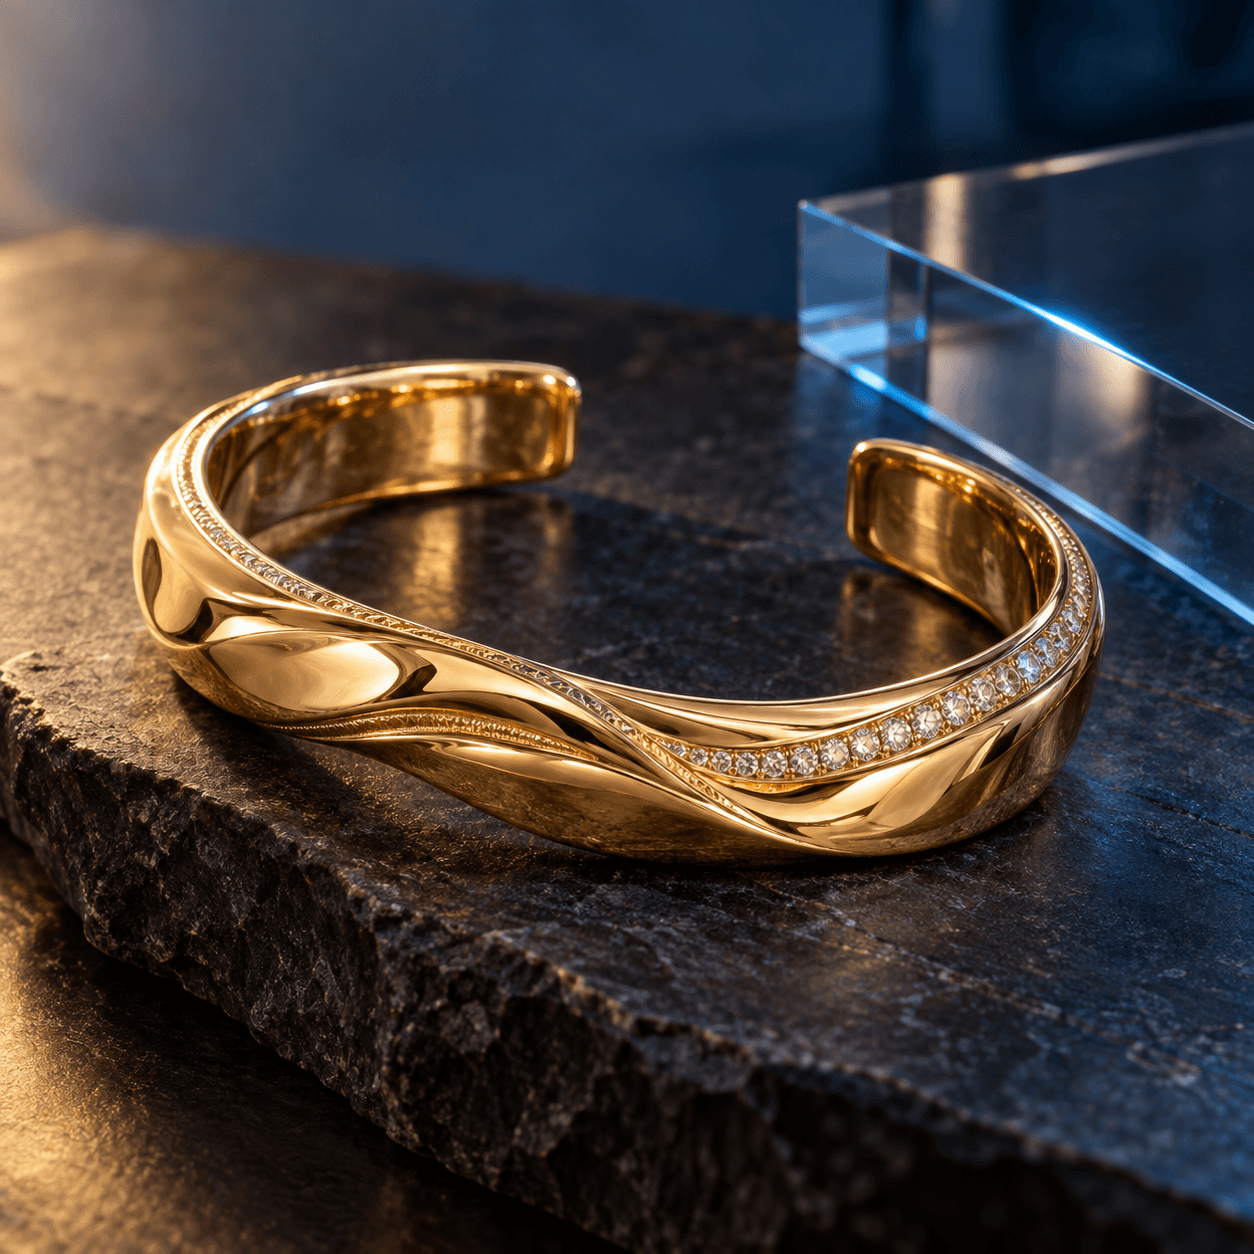
Explore the shape and proportions of your next bracelet or cuff.
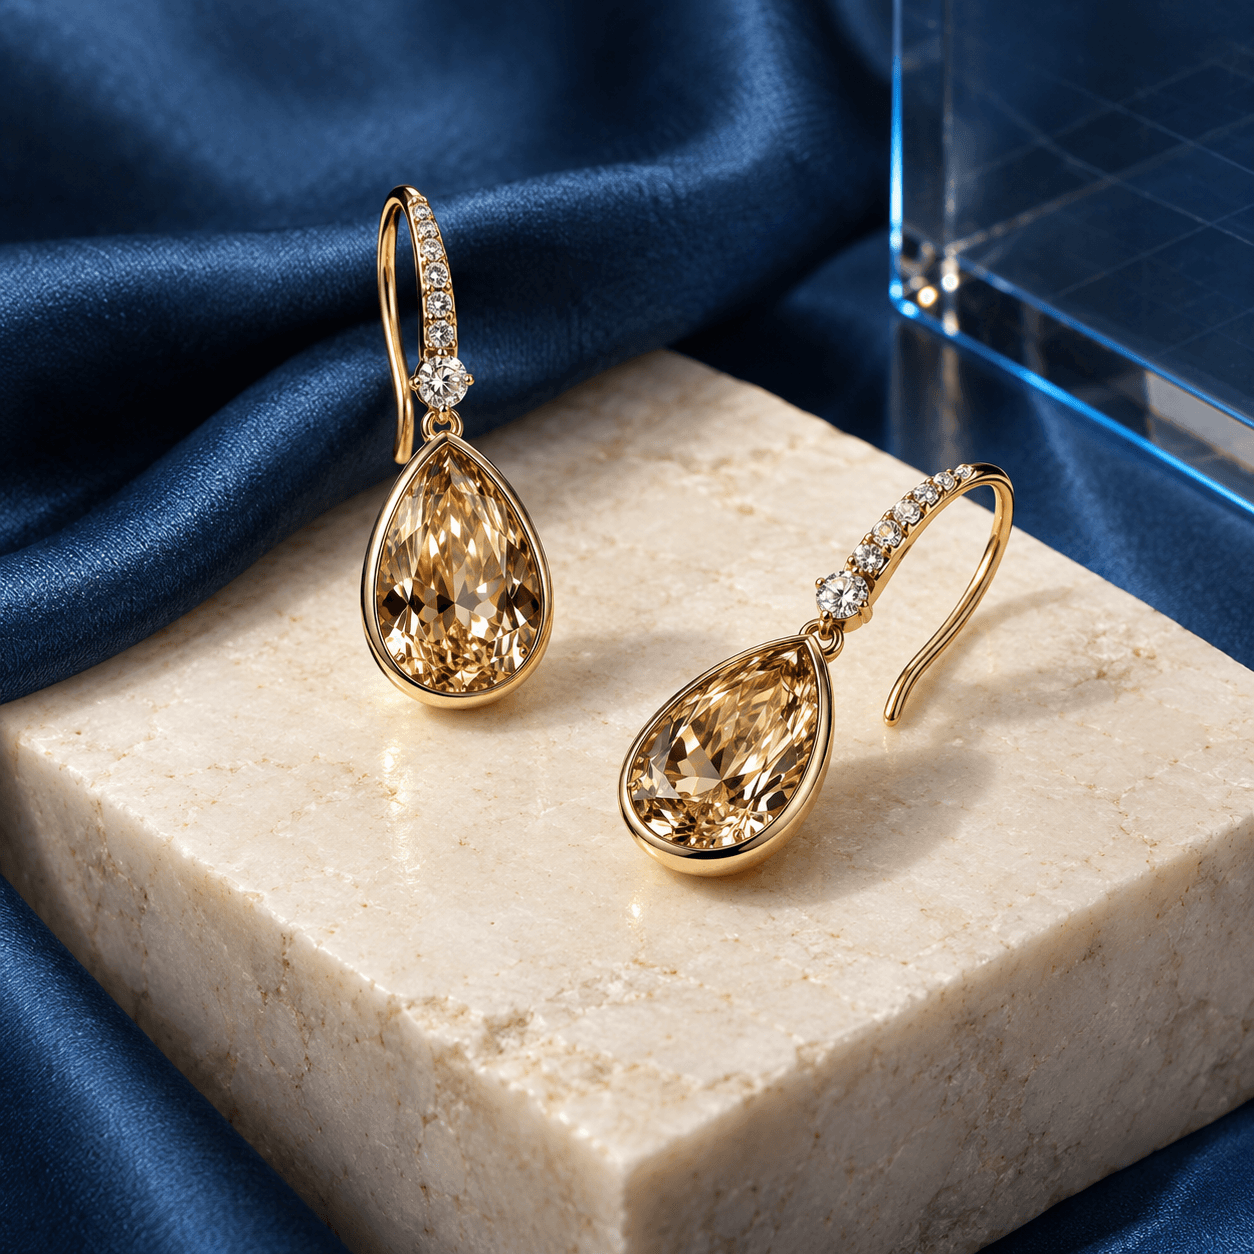
Develop each earring component from its own reference image.
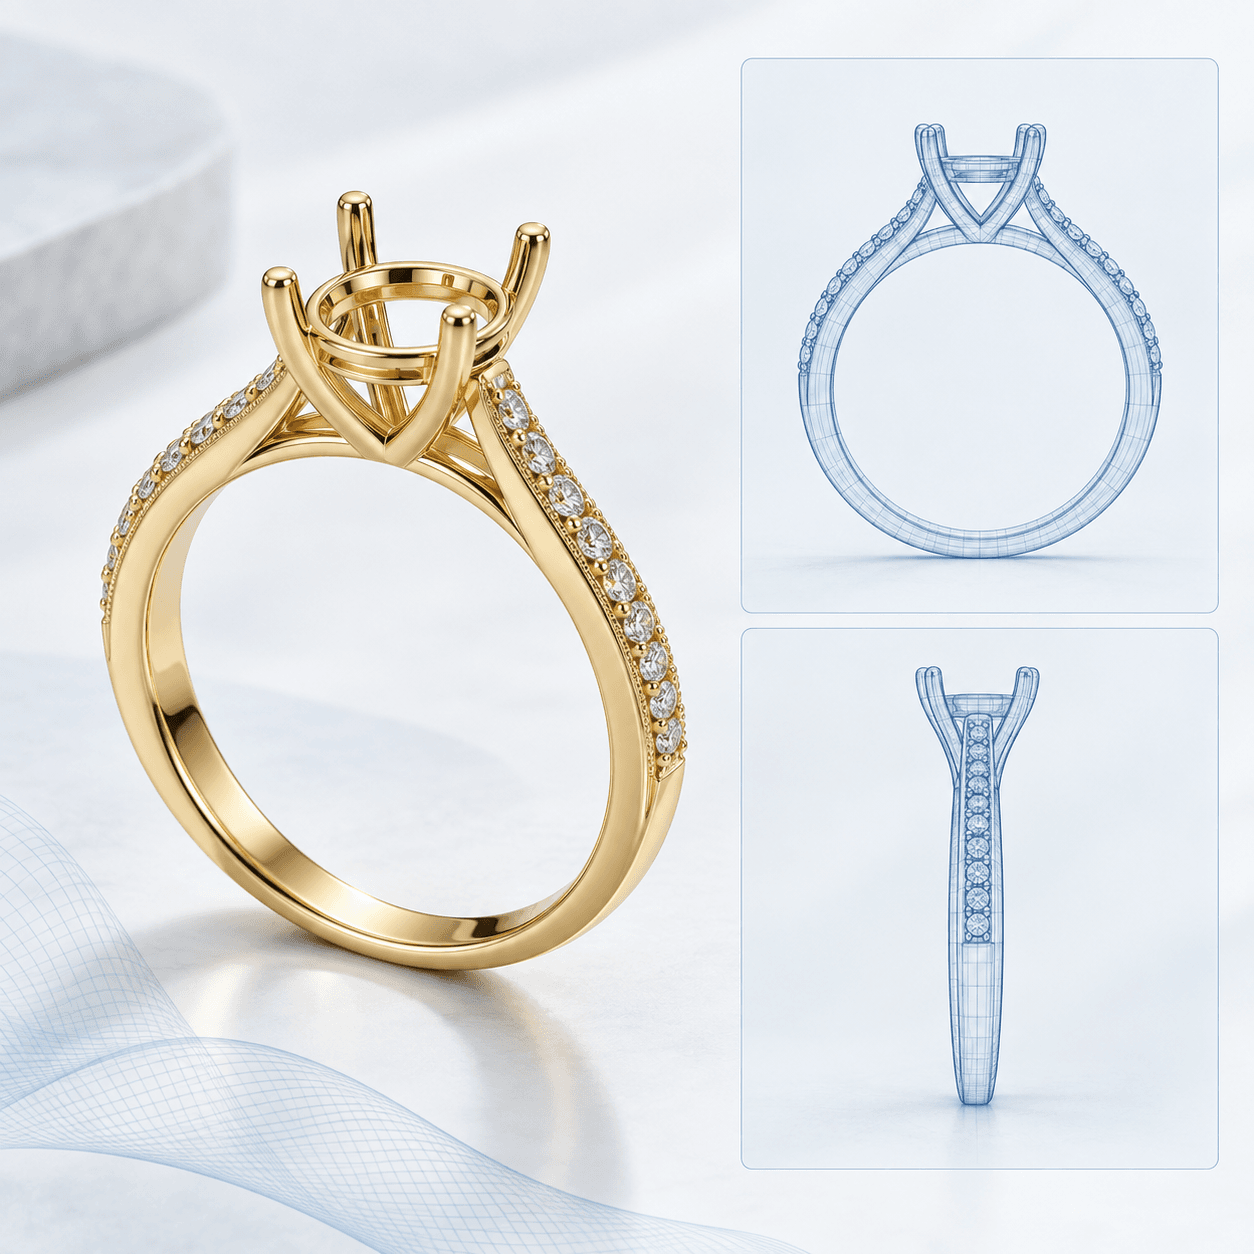
LOOK CLOSER BEFORE YOU MOVE FORWARD
Rotate your model to understand its form and inspect the openings, settings and small features. Use what you see to guide the next conversation or refinement.
Rotate and zoom to view your model from different angles.
Identify details, openings and fit that need further review.
Keep your references together and download your 3D model.
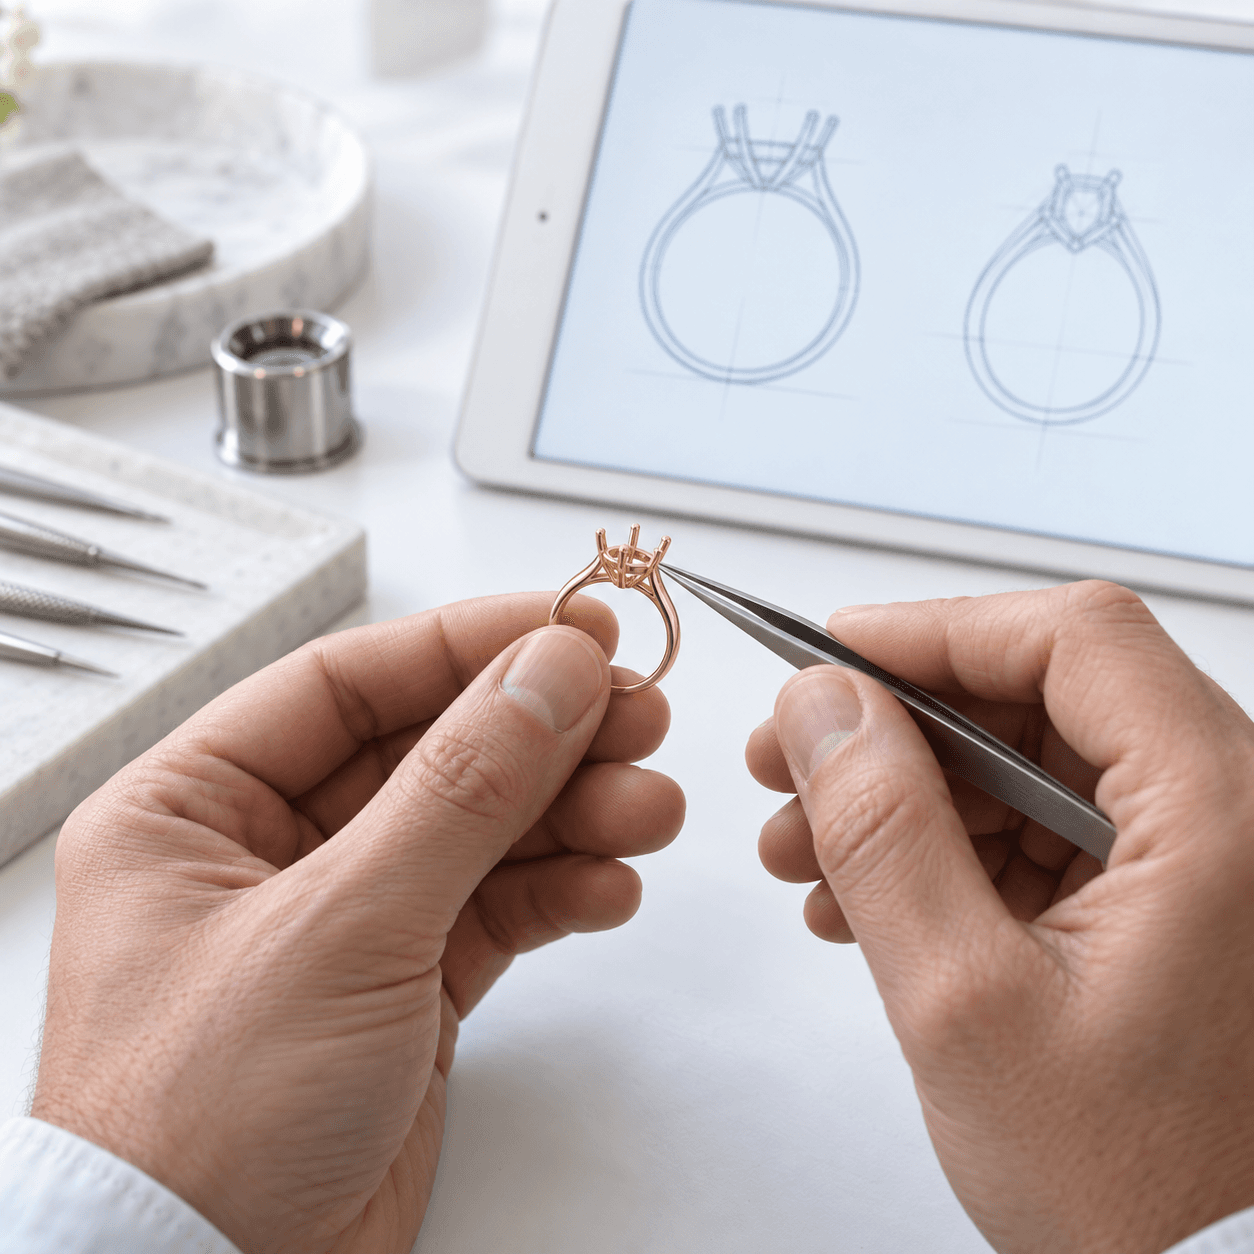
FOR JEWELLERS AND DESIGN PROFESSIONALS
Give your design conversations a tangible starting point. ONE helps you visualise the direction; your expertise guides the refinement, sizing and preparation for making.
Choose the reference, guide the changes and approve the preview you want to develop.
Use the generated model to discuss the design and identify details that need attention.
Take the model into your next stage of work, with professional checks for sizing and manufacturing suitability.
BEFORE YOU START
A practical guide to your first design with ONE.
You can create 3D starting points for rings, pendants, bracelets and earrings. Use an image, sketch, written idea or a combination for rings, pendants and bracelets. Earrings require a separate reference image for each component. Upload images in PNG or JPG format.
Instructions are optional when you upload an image or sketch. Add them to explain the direction or changes you have in mind. For rings, pendants and bracelets, you can also begin with a written description alone.
Removing the stones from the preview makes the metal structure and empty settings easier to inspect. Review the whole image and refine it before creating your 3D model.
Download your completed 3D model or preview image. Find your saved previews and models in workspace History.
The generated model is a starting point for professional review and refinement. Its dimensions are uncalibrated. Check and adjust sizing, fit, openings and small features before printing or manufacturing.
Previews and models are charged separately. Each action shows its credit price or estimate before you start. Accepted requests reserve credits from your available balance. Only successful work is charged; failed or cancelled requests release the reservation.
BRING YOUR NEXT ENQUIRY
Start with a customer reference or an idea of your own. Create a preview you can discuss and a 3D model you can take further.
Start creating
